
How to Use Self Leveling Tools
Browse This Page
Work Sequence at a Glance
| Step | What to confirm |
|---|---|
| Establish the Material and Substrate Plan | Identify the exact compound and obtain its current technical and safety data sheets. |
| Arrange Tools, People and the Route | Place the ARIK mixing container listed as Self Leveling Mixing Tools, clean measuring equipment and spreading tools where each batch can move without interruption. |
| Measure and Mix Each Batch Consistently | Follow the specified liquid amount, batch size, addition order, paddle and mixing procedure. |
| Place and Spread to the Required Level | Pour onto the approved substrate in the planned sequence and guide the material with the specified spreading or gauging arrangement. |
| Use a Spiked Roller Only at the Approved Stage | If the compound instructions call for spike rolling, use the approved tool and timing while the mix remains in the required state. |
| Check the Wet Work and Protect the Area | Check the placed material against the level references and inspect edges, pour joins and visible defects while correction remains permitted. |
| Clean Tools and Assess Readiness for Flooring | Clean mixing and spreading equipment at the permitted stage using the compatible method, with power safely disconnected before mixer maintenance. |

Prepare the Sequence Before Mixing
Approve the substrate and material method, organise the container and separately selected mixer, and measure each batch consistently. Spread to the required level and perform only the permitted finishing operation. The placed layer still needs its specified drying and readiness checks before flooring.
1. Establish the Material and Substrate Plan
Identify the exact compound and obtain its current technical and safety data sheets. Confirm substrate preparation, moisture checks, primer, boundaries, joints and target level before mixing. Mark the required levels and protect openings according to the material instructions. Inspect the primer stage and working environment. Do not begin because the tools are ready while the substrate remains unapproved. If a substrate condition or material requirement is unresolved, stop before a batch is mixed and arrange the required assessment.
2. Arrange Tools, People and the Route
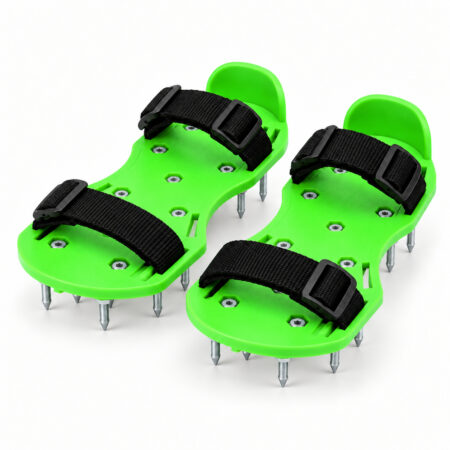
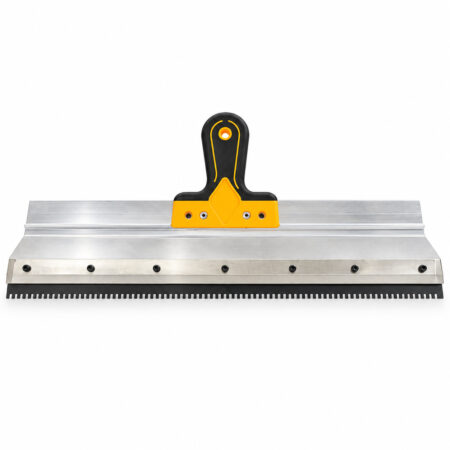
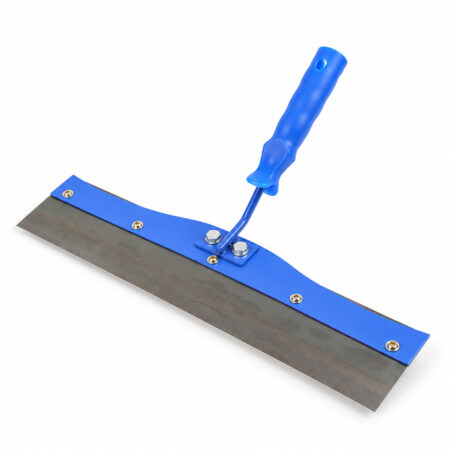
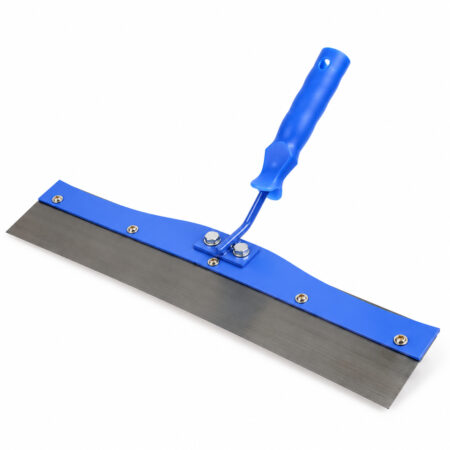
Place the ARIK mixing container listed as Self Leveling Mixing Tools, clean measuring equipment and spreading tools where each batch can move without interruption. Separately check the required mixer and paddle, their connection, operating range and clearance inside the container. Verify any supplied items from the actual packing list. Lay out Wood Handle Squeegee, Plastic Handle Squeegee أو Hand Spreading Tool for the approved method. Plan who mixes, carries and spreads, and confirm the exit route before considering أحذية ذات مسامير.



3. Measure and Mix Each Batch Consistently
Follow the specified liquid amount, batch size, addition order, paddle and mixing procedure. For a water-added compound, measure clean water rather than estimating by eye; add powder in the sequence its data sheet requires. Keep the vessel supported and the mixer controlled. For a resin system, follow its own component sequence and approved equipment. Do not dilute a stiffening batch to regain flow. If the batch has lumps, segregation or another unacceptable condition, use the material maker’s corrective instruction before placing it.
4. Place and Spread to the Required Level
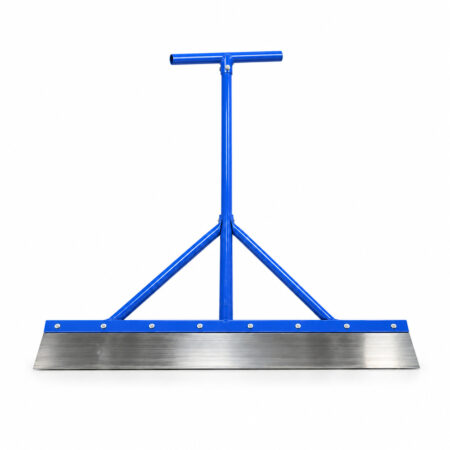
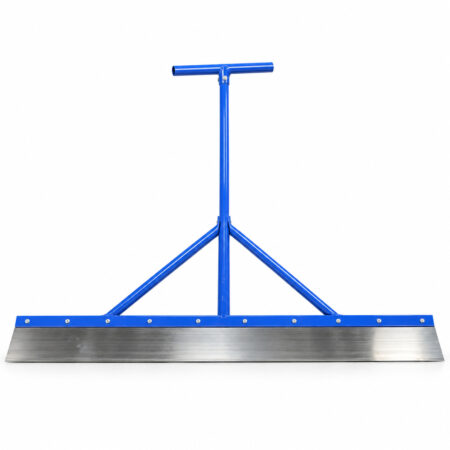
Pour onto the approved substrate in the planned sequence and guide the material with the specified spreading or gauging arrangement. Keep the working edge clean and use local hand control only where permitted. Check that high spots, edges and the boundary receive the required layer, rather than judging thickness from the notch label alone. Keep successive batches coordinated within the material’s working conditions. Do not bury movement joints or allow material to escape through an unsealed opening.

5. Use a Spiked Roller Only at the Approved Stage
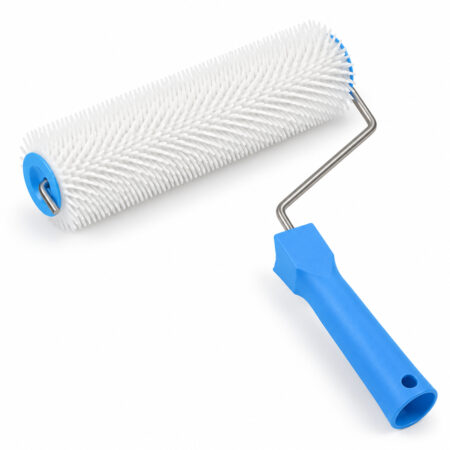
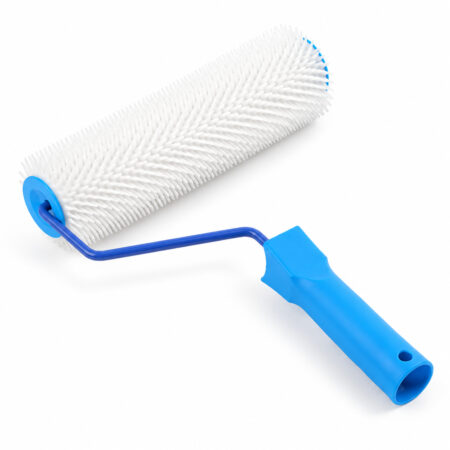
If the compound instructions call for spike rolling, use the approved tool and timing while the mix remains in the required state. Check that the spikes and handle arrangement suit the layer and that the operator can leave safely. Use أحذية ذات مسامير only when permitted and secured correctly. Avoid excessive passes or returning after the surface has begun to stiffen. Stop if rolling tears the surface, leaves persistent tracks or drags the mix; investigate the material condition instead of continuing to work it.

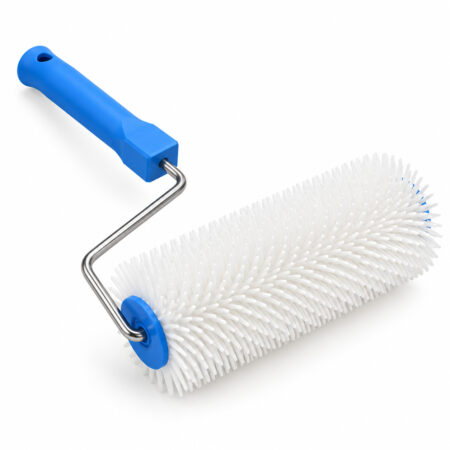

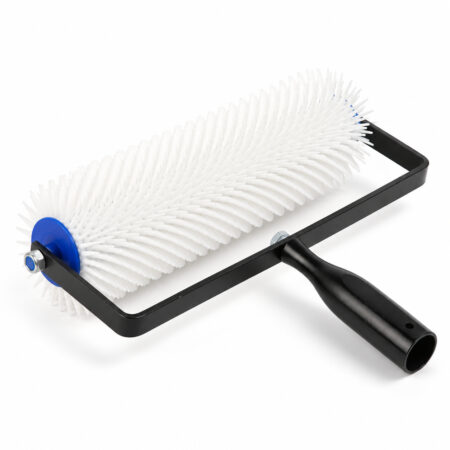

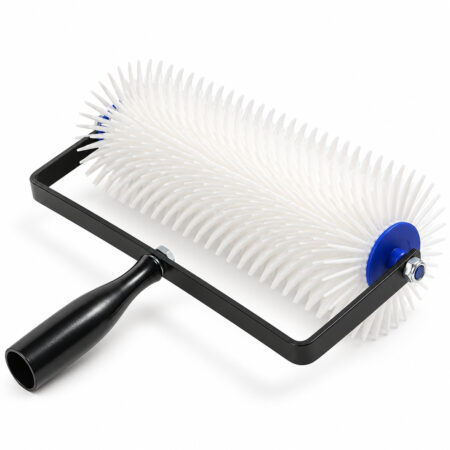
Explore 5. Use a Spiked Roller Only at the Approved Stage
6. Check the Wet Work and Protect the Area
Check the placed material against the level references and inspect edges, pour joins and visible defects while correction remains permitted. Record the mix and site conditions if flow differs from the approved trial. Do not add water to the floor surface or keep reworking a skinning layer. Protect the area from traffic, draughts and other exposure as its data sheet requires. Keep the specified drying, moisture assessment and readiness checks separate from the moment the surface merely appears walkable.
Follow the Sequence for the Named Compound
ARDEX TL 2000 specifies measured batching and continuous placing. Sikafloor-200 Level describes preparation and conditional finishing. Carry the compound’s instructions into the pour plan, including rolling permission and floor-covering readiness.
7. Clean Tools and Assess Readiness for Flooring
Clean mixing and spreading equipment at the permitted stage using the compatible method, with power safely disconnected before mixer maintenance. Remove hardened residue by the documented procedure; damaged working edges should not be used for the next pour. Record the material batch, liquid measurement, tool configuration and completed area. Before installing the floor, perform the compound and adhesive system’s required readiness checks. A clean-looking surface or an elapsed generic number of hours does not establish that the next layer can be installed.
How to Choose Self Leveling Tools Squeegee Blade Compatibility
| Selection point | What to check |
|---|---|
| Tool cleaning | Use the compatible method before residue hardens |
| Walkable condition | Follow the material’s access instruction |
| Covering readiness | Check the separate flooring requirement |
Related Products and Guides
الأسئلة المتداولة
Can I add extra water to make spreading easier?
Use only the material’s specified amount and corrective procedure. Do not change a mix ratio to compensate for tool or timing problems.
Should I spike-roll every pour?
Only where the compound instructions require or allow it, at their specified stage.
Does walkable mean ready for floor adhesive?
No. Follow the material’s drying and readiness criteria for the proposed floor covering.
What information do you need for a wholesale quotation?
Send the product names or models, configurations, quantities and delivery destination. You can include mixing buckets, spreaders, spiked rollers and shoes in the same enquiry. The applicable quantity tier, packing details and order conditions will be reviewed for the selected items.
Can you customize the logo or packaging?
Send your logo artwork, preferred placement, packaging requirements and estimated order quantity. ARIK will review the available options for the selected tools and confirm the sample requirements, order conditions and quotation before production.
Can I request samples before a bulk order?
Include the models and configurations you want to evaluate, the intended application and the delivery destination in your enquiry. Sample availability, cost and shipping arrangements need to be confirmed for the selected items before an order is placed.
احصل على عرض الأسعار الآن
- اتصل بنا للحصول على عرض الأسعار المخصص لك.
- وفّر أكثر مع أسعارنا المباشرة!
- أسعار جملة تنافسية.
- لا وسيط، صفقات أفضل.

