
Squeegee Blade Compatibility
Browse This Page
Compatibility Checklist
| Check | What to confirm |
|---|---|
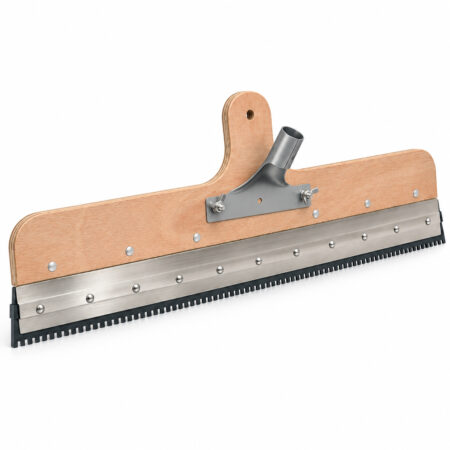
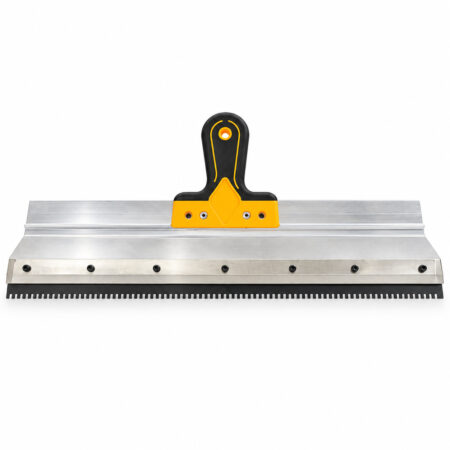
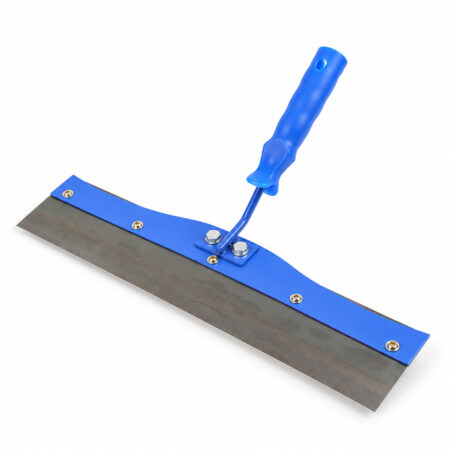
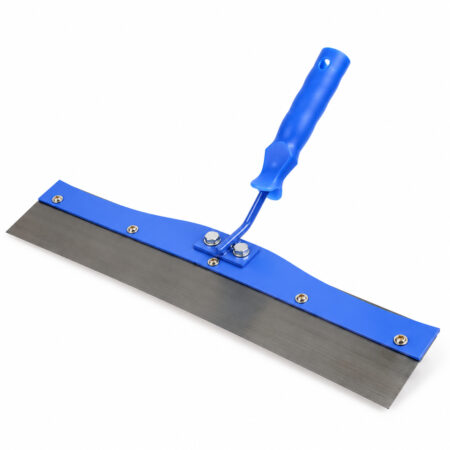
| Identify the Holder and Its Actual Construction | Record whether you are maintaining Wood Handle Squeegee, Plastic Handle Squeegee oder Hand Spreading Tool, including the exact model and current edge. |
| Clean Before Measuring or Removing | Use the tool and compound manufacturers’ compatible cleaning instructions to remove residue without damaging the edge or holder. |
| Measure Width, Thickness and Engagement | Measure blade width, thickness and the height or depth that engages in the holder. |
| Identify the Working Edge Precisely | Describe whether the edge is smooth, notched or another specified profile. |
| Match the Compound’s Application Method | Obtain the current technical data sheet for the exact cementitious or resin material. |
| Confirm Retention Before a Material Trial | Use the approved blade-to-holder instructions to install and check the replacement. |
| Inspect the Result and Save the Specification | On an approved sample area, use the actual compound, substrate and placement method. |

Check Holder Fit and Material Method Separately
First confirm that the working edge is replaceable and identify its retention. Match mounting dimensions and support, then the edge profile and compound application. A secure insert can still be the wrong spreading blade; notch size alone does not guarantee finished thickness.
| Selection point | What to check |
|---|---|
| Holder fit | Match mounting and retention |
| Working edge | Identify the actual profile |
| Compound method | Use the material’s required application |
1. Identify the Holder and Its Actual Construction
Record whether you are maintaining Wood Handle Squeegee, Plastic Handle Squeegee oder Hand Spreading Tool, including the exact model and current edge. Photograph the holder, blade insertion area and fasteners. Check whether the working edge is replaceable at all; a family name or handle material does not prove a removable insert. Keep any adapter or retaining strip in the record. A tool that looks like another squeegee may use a different clamp or one-piece construction.
2. Clean Before Measuring or Removing
Use the tool and compound manufacturers’ compatible cleaning instructions to remove residue without damaging the edge or holder. Secure the tool and avoid the working edge while releasing a removable blade by its prescribed method. Do not pry a fixed edge out of its body. Inspect the clamp, screws and seating faces for distortion or wear. Hardened material in the slot can make a correct blade appear too thick or prevent safe retention. Resolve that condition before comparing spare dimensions.
3. Measure Width, Thickness and Engagement
Measure blade width, thickness and the height or depth that engages in the holder. Record the usable working projection and any end clearance. For a bolted or pinned insert, record fixing-hole diameter and centre positions from a defined datum. For a slot or clip arrangement, identify its retaining profile and required seating. Use units consistently and photograph the measuring points. A matching overall width does not establish that the blade is supported or clamped correctly.
4. Identify the Working Edge Precisely
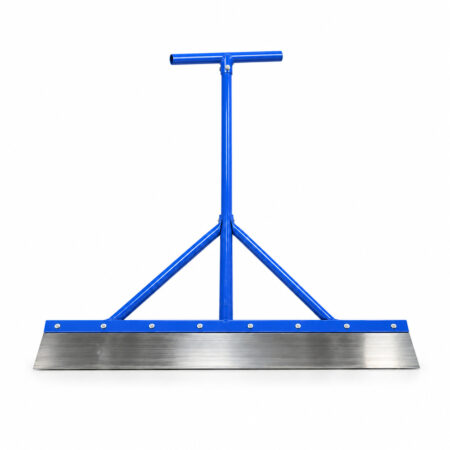
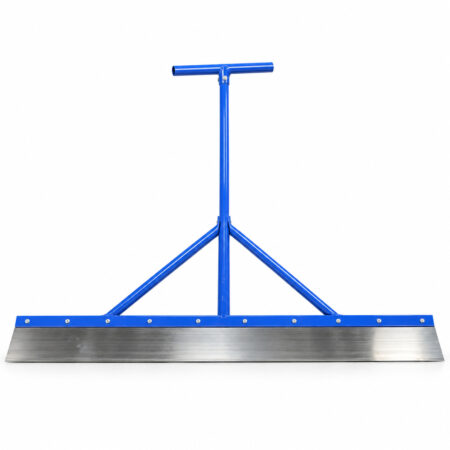
Describe whether the edge is smooth, notched or another specified profile. For a notched edge, record notch shape, depth, opening, spacing and orientation, using the manufacturer’s designation where available. Distinguish the working tooth profile from the blade’s mounting profile. Photograph the edge against a scale without resting a sharp edge on an exposed surface. A worn tooth can give a misleading measurement. Do not choose a replacement simply because its silhouette resembles an old unlabelled blade.

5. Match the Compound’s Application Method
Obtain the current technical data sheet for the exact cementitious or resin material. Check which spreading, gauging or smoothing method it permits and the required placement conditions. Keep mechanical fit separate from material suitability: a secure insert can still have the wrong working edge. A notch measurement is not a guaranteed finished thickness, because the specified method and floor conditions also control placement. Check any compatible blade material and cleaning requirement before using the same edge across different systems.
6. Confirm Retention Before a Material Trial
Use the approved blade-to-holder instructions to install and check the replacement. Verify even support, correct seating and specified fastening without improvising packing or altering holes. Keep hands clear of the edge when checking that the blade cannot shift. If the holder no longer retains the correct insert, repair or replace the appropriate component. Do not use a liquid-material trial as the first test of uncertain retention. Mechanical approval comes before application assessment.
A Holder Match and a Material Method
UZIN’s rake page identifies the rake and insert separately. Sikafloor-330 instructions specify application and rolling methods. Check insert fit and compound procedure as separate requirements, keeping the material’s applicable regional document.
7. Inspect the Result and Save the Specification
On an approved sample area, use the actual compound, substrate and placement method. Check distribution, level references, edge tracks and whether the blade remains stable. Stop if the insert shifts, drags or leaves a result the material instructions reject. Record the holder, blade code, dimensions, working profile, compound and accepted sample. Send that record with Squeegee Blades, quantities and destination when requesting replacements. This makes reordering more reliable than choosing from a general serrated-edge photograph.
How to Choose Self Leveling Tools How to Use Self Leveling Tools
Related Products and Guides
Häufig gestellte Fragen
Will every blade of the same width fit?
No. Thickness, engagement, locating features, retention and projection also matter.
Does a notch define the finished layer thickness?
No. Follow the compound’s placement method and verify the actual result.
Can every Hand Spreading Tool take a new blade?
Check its actual construction. A fixed working edge should not be treated as a removable insert.
What information do you need for a wholesale quotation?
Send the product names or models, configurations, quantities and delivery destination. You can include mixing buckets, spreaders, spiked rollers and shoes in the same enquiry. The applicable quantity tier, packing details and order conditions will be reviewed for the selected items.
Can you customize the logo or packaging?
Send your logo artwork, preferred placement, packaging requirements and estimated order quantity. ARIK will review the available options for the selected tools and confirm the sample requirements, order conditions and quotation before production.
Can I request samples before a bulk order?
Include the models and configurations you want to evaluate, the intended application and the delivery destination in your enquiry. Sample availability, cost and shipping arrangements need to be confirmed for the selected items before an order is placed.
Holen Sie sich jetzt Ihr Angebot
- Kontaktieren Sie uns für Ihr persönliches Angebot.
- Sparen Sie mehr mit unseren Direktpreisen!
- Wettbewerbsfähige Großhandelspreise.
- Kein Zwischenhändler, bessere Angebote.

