Identify the Rubber Flooring System
Record the manufacturer, product code, thickness, backing and whether the flooring is sheet or tile. Smooth resilient rubber, profiled tile, adhesive backed products and thick interlocking gym mats require different installation decisions. This page concerns specified fitting and pressing tasks, not poured rubber surfacing or every loose laid mat. Establish the adhesive or factory backing system and the required seam finish. Use the named product's installation instructions before choosing a cutting method.
Prepare the Layout and the Cutting Task
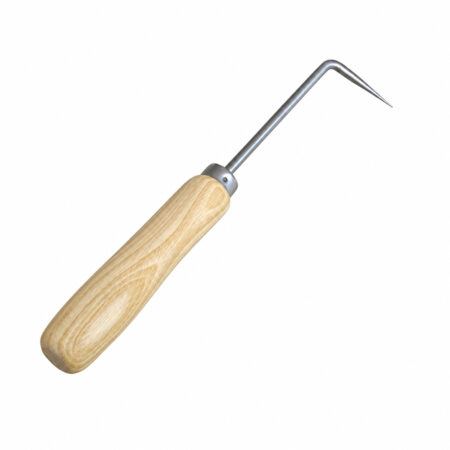
Flooring Rulers establish the layout and cut reference. The Hook Knife is a candidate for hand fitting and following an approved cutting line. Large Push Cutting Tool e Small Push Cutting Tool should be evaluated on the actual rubber, including surface profile and backing. The Seam Cutting Knife is a candidate for the specified meeting edge of sheets. Confirm whether the cutting guide references a factory edge, overlap or marked line; do not equate a clean rough cut with an accepted final seam.
Keep the Fitted Joint Free from Forced Closure
Select the factory-edge treatment and seam method from the flooring guide. Keep adjacent pieces aligned with the intended direction and avoid forcing an oversized piece into position. Check a cut face for distortion, tearing or an unintended bevel. Profiled material may need a different reference than smooth sheet. Before ordering push cutters in quantity, ask for a cut demonstration using the product construction you intend to install and the final joint geometry you need.
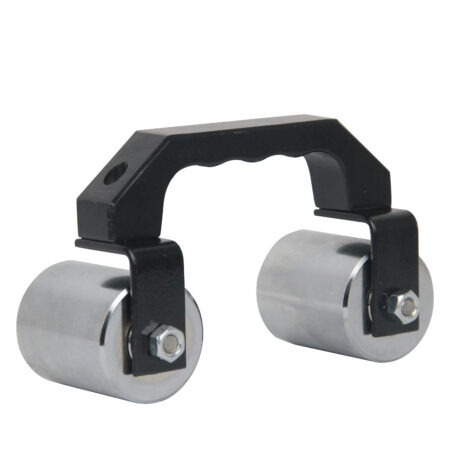
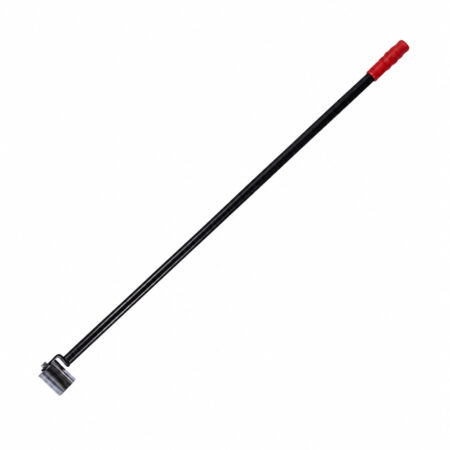
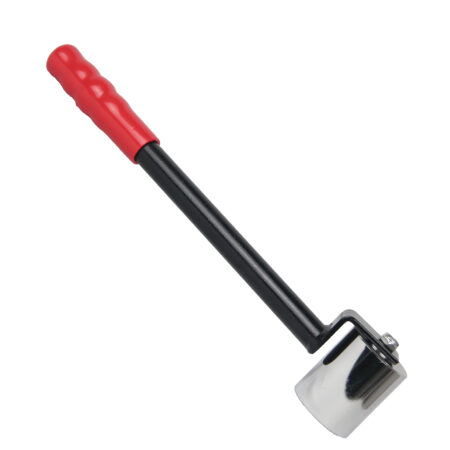
Choose Pressing from the Adhesive Specification
Keep Seam Treatment Conditional
Seam Probes remain in the tool list as conditional inspection aids. An unsealed rubber butt joint is not a PVC heat weld and should not be pried open for routine inspection. Establish whether the rubber specification calls for unsealed joints, heat sealing or a proprietary cold joint treatment, then use its stated acceptance method. The nora installation guide documents rubber-specific joint procedures. A probe check does not prove bond strength, hygiene performance or watertightness of the complete floor.
Investigate Lift, Distortion and Poor Contact
An edge that rises after pressing calls for checking the layer that released, substrate condition and adhesive timing. A distorted seam calls for checking the cut, alignment and material tension. A visible rubbing mark calls for reviewing tool contact and surface suitability. Stop if the sample shows tearing, scuffing or unacceptable contact. Adding another rolling pass cannot establish that the adhesive is right for the rubber, and joint treatment cannot correct a poorly prepared substrate.
Try the Actual Rubber, Adhesive and Cutting Setup
Make a representative sample with the specified rubber, substrate and adhesive or factory backing. Compare the shortlisted cuts, inspect the fitted seam and check tool access at an edge. Use the bond evaluation method stated for that system. nora's official teaching separates sheet fitting, tile installation and mat bond tests, which makes the checks easy to follow. Record the tool, blade and pressing method with your sample observations.
Fit, Place and Press the Specified Rubber System
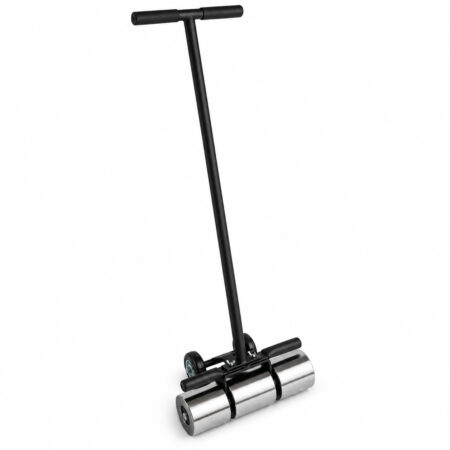
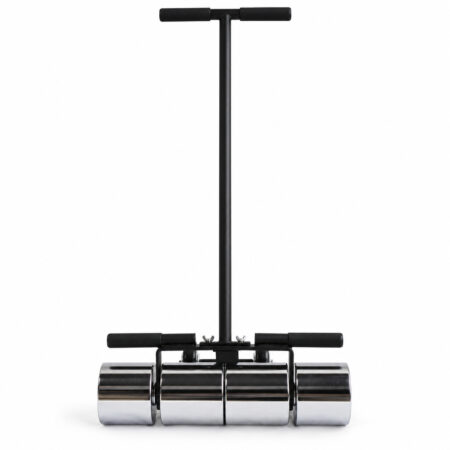
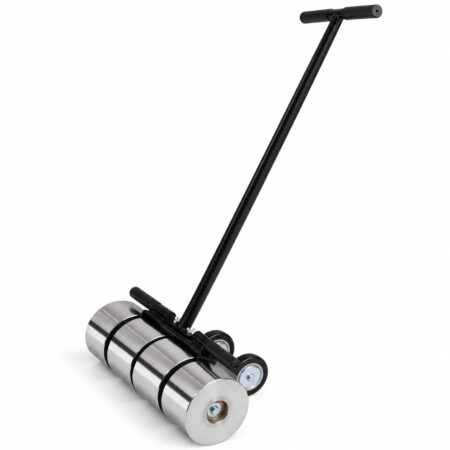
Establish the sheet or tile layout and prepare the approved meeting edges. Follow the adhesive or factory-backing procedure, then place and press the rubber during the permitted installation stage. Check local edges as well as the open area and complete only the joint treatment specified for that product. Keep the bond assessment separate from the seam appearance. Record the blade holder and roller contact material so the demonstrated setup can be identified for purchasing.
Richiedete ora il vostro preventivo
- Contattateci per un preventivo personalizzato.
- Risparmiate di più con i nostri prezzi diretti!
- Prezzi all'ingrosso competitivi.
- Nessun intermediario, offerte migliori.