
How to Weld Sheet Vinyl
Browse This Page
Work Sequence at a Glance
| Step | What to confirm |
|---|---|
| Confirm the Flooring, Rod and Adhesive Stage | Use the exact flooring installation guide to confirm that heat welding is the required joint method. |
| Inspect the Groove and Prepare the Route | Check the joint is clean, continuous and correctly centred, including the near-wall details. |
| Match the Gun, Nozzle and Rod | With the tool cooled and safely isolated as its manual requires, check the approved nozzle connection and retention. |
| Produce and Assess a Test Weld | Use the same flooring, rod, groove and site conditions as the installation. |
| Weld with a Continuous, Observed Feed | Follow the approved hand or machine technique, keeping the nozzle aligned with the groove and the rod feeding freely. |
| Trim According to the Exact Material Method | Use Spatula Weld Trimming Knife or Crescent Weld Trimming Knife with the appropriate guide where the floor instructions approve that tool. |
| Inspect, Repair and Shut Down | Inspect the seam after the permitted trimming and cooling stages. |
Approve a Test Weld Before the Installed Seam
Identify the flooring, rod and prepared groove, then match the welding equipment and nozzle. Make and assess a representative test weld before using the installed joint. Control the working pass and complete the material-specific trimming and inspection sequence before accepting the seam.
1. Confirm the Flooring, Rod and Adhesive Stage
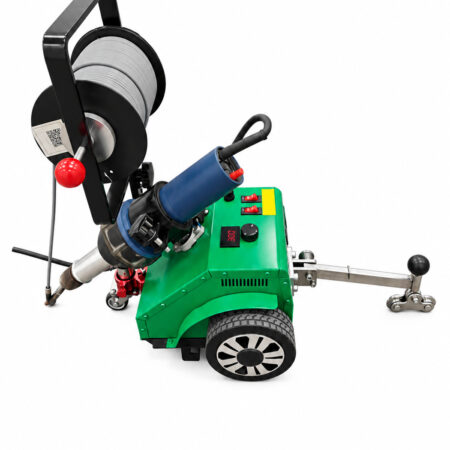
Use the exact flooring installation guide to confirm that heat welding is the required joint method. Identify the approved rod, groove and waiting conditions after adhesion. Check that the fitted floor is stable and the seam has the correct preparation. Do not weld a floating rigid-plank joint or an unidentified material simply because it looks like vinyl. If the system calls for another joining method, follow that system. Keep the instructions beside the test materials before setting up the tool.
2. Inspect the Groove and Prepare the Route
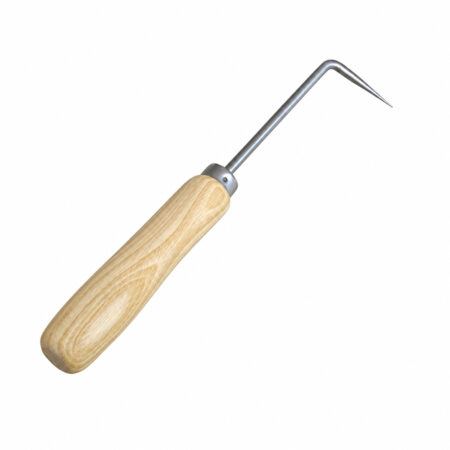
Check the joint is clean, continuous and correctly centred, including the near-wall details. Inspect any suspect area against the material guide before applying heat. Clear the travel route and position cords and the rod reel so they feed without snagging. Provide the ventilation and site arrangements required by the tool and material instructions. Prepare a suitable rest position for the hot tool. An unfinished groove or contaminated joint must be resolved before starting the welding pass.
3. Match the Gun, Nozzle and Rod
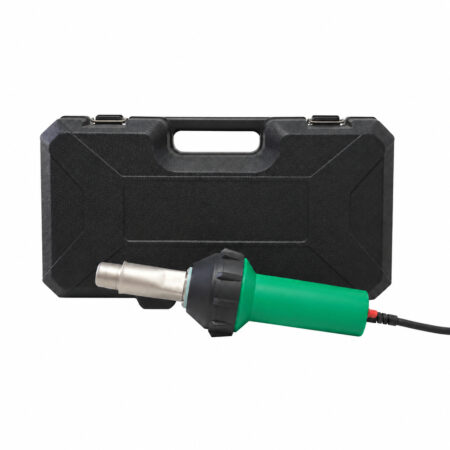
With the tool cooled and safely isolated as its manual requires, check the approved nozzle connection and retention. For a rod-feed nozzle, verify that the rod profile and feed opening match, and that the air outlet is suitable for the floor surface. Set up an automatic machine’s guidance and rod path from its own instructions. Do not substitute a broad hot-air outlet for a material-specific floor nozzle. Confirm the power version against the site supply before starting the documented warm-up sequence.
4. Produce and Assess a Test Weld
Use the same flooring, rod, groove and site conditions as the installation. Select the initial parameters from the material and tool guidance, then weld a short coupon. Keep speed, heat delivery and pressure controlled. Allow the appropriate cooling and trimming procedure before assessment. Inspect for fusion, surface damage, voids and the required finished profile; use the material maker’s permitted test. Record the accepted combination. A smooth bead alone does not prove a sound weld. Revise a failed test before touching the installed seam.


5. Weld with a Continuous, Observed Feed
Follow the approved hand or machine technique, keeping the nozzle aligned with the groove and the rod feeding freely. Watch the junction where the rod enters the prepared seam. For automatic equipment, check tracking and the indicated operating values; for hand work, maintain controlled travel and contact. Stop if the rod sticks, the finish scorches, the tool leaves the groove or fusion changes. Use the documented stop method and inspect the affected section before resuming. Do not hide a discontinuity under an extra bead.
6. Trim According to the Exact Material Method
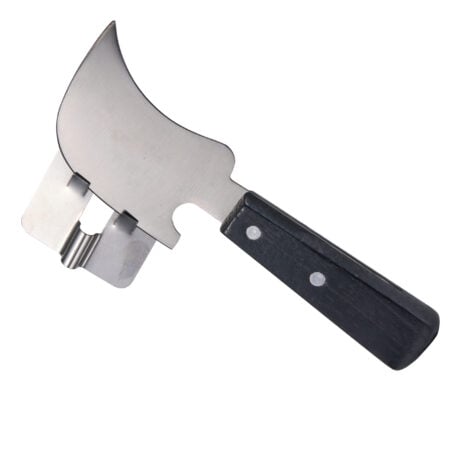
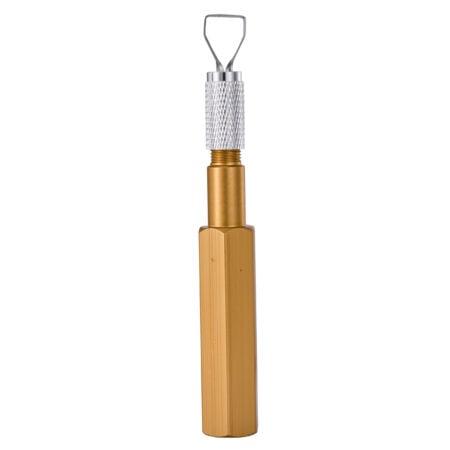
Use Spatula Weld Trimming Knife or Crescent Weld Trimming Knife with the appropriate guide where the floor instructions approve that tool. Many systems separate excess removal from the final flush cut, but the first-trim timing is material-dependent. Keep the remaining rod supported during the preliminary cut and make the final cut only under the specified cooling condition. Inspect the finish in good light. Do not trim an entire warm seam flush on the assumption that it will keep the same level after cooling.



The Floor Determines the Trimming Sequence
Altro’s current installation guide and Forbo’s Sarlon guide describe staged trimming and trial welding. Keep the timing and guide requirements with the exact floor. The first pass and final flush cut are separate checks.
7. Inspect, Repair and Shut Down
Inspect the seam after the permitted trimming and cooling stages. Use Seam Probes only with the material maker’s approved inspection method, applying controlled checking rather than puncturing the flooring. Record voids, missed ends or weak sections and repair by the specified procedure. Follow the tool’s shutdown and cool-down instructions before disconnecting and handling hot parts. Save the parameter record and representative test piece. When changing material, rod, nozzle or working conditions, review the test rather than relying on a previous setting.
How to Choose Floor Welding Tools Welding Gun and Nozzle Compatibility
Related Products and Guides
Frequently Asked Questions
What temperature should I use?
Start with the exact floor and tool instructions, then verify the setup on representative material. Record the permitted heat, airflow, movement and rod-feed conditions with the trimmed seam assessment. Correct the setup if the surface or weld fails the material’s checks.
Can I trim immediately after welding?
The initial and final trimming conditions depend on the material. Read its current instructions before either pass.
Does a seam probe certify the installation?
No. It is one inspection tool when the flooring maker permits its method; it does not replace the specified checks.
What information do you need for a wholesale quotation?
Send the product names or models, configurations, quantities and delivery destination. You can include mixing buckets, spreaders, spiked rollers and shoes in the same enquiry. The applicable quantity tier, packing details and order conditions will be reviewed for the selected items.
Can you customize the logo or packaging?
Send your logo artwork, preferred placement, packaging requirements and estimated order quantity. ARIK will review the available options for the selected tools and confirm the sample requirements, order conditions and quotation before production.
Can I request samples before a bulk order?
Include the models and configurations you want to evaluate, the intended application and the delivery destination in your enquiry. Sample availability, cost and shipping arrangements need to be confirmed for the selected items before an order is placed.
Get Your Quote Now
- Contact us for your personalized quotation.
- Save more with our direct pricing!
- Competitive wholesale prices.
- No middleman, better deals.

