
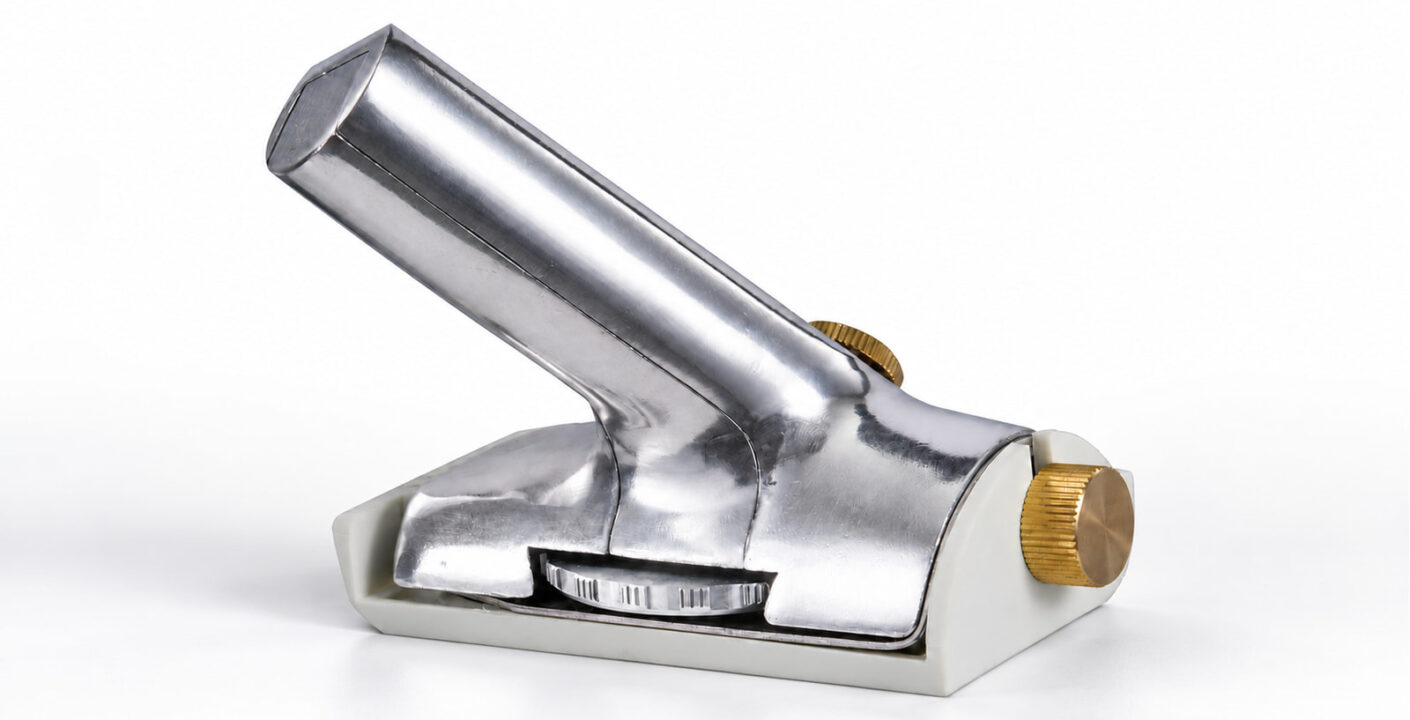
Trimming sheet vinyl along a long wall can feel straightforward until the trimmer reaches a bowed section, a door casing, or an inside corner. A push trimmer follows the surfaces its guide and base actually touch. Check those contact points before deciding where to make the finished cut.
To trim sheet vinyl along walls, mark the edge the installation requires, then check whether the wall can guide the blade along it. Keep the trimmer base supported, test blade exposure on a matching offcut, and stop before a doorframe or corner changes how the tool sits. Finish tight spots separately.
A short trial beside the actual wall will tell you more than a cut on a bench. Check the middle of the run and the places where you have to start, stop, or change tools.
Decide what the wall edge needs to fit
Identify the finished detail before you mark the cut. The edge might meet a specified perimeter detail, tuck beneath a trim, or stop at a doorway transition. Use the flooring maker’s instructions and the project detail to establish the clearance and finish. If a trim or transition will cover the edge, check its actual coverage with the material in place.
Inspect the wall at the height where the guide will touch. A wall that looks straight at eye level can have small projections or recesses near the floor. A straightedge can help you find where the wall changes direction. Mark those spots and look for any change in the intended distance between the wall and the finished vinyl edge.
If the finished edge is meant to track the wall and the guide can move smoothly against it, the wall can serve as your reference. If a recess, projecting trim, or rough patch would pull or push the blade away from the line you need, mark that section separately. Use a template or a suitable hand-cutting method with the reference specified for the finish. Check that the resulting edge still fits the actual wall detail.
Check what the base and guide touch
The ARIK QBTD wall-edge flooring trimmer works on the flat sheet near the floor-to-wall junction. Before cutting, check where its base rests, where the guide bears, and where that puts the blade. The cutting point is offset from the contact surface, so a guide that feels firm can still place the blade on the wrong side of your mark.
With the blade protected or removed according to the tool instructions, check the travel of the base and guide through a short section. Clear grit from the path and watch for a raised lip or excess sheet that lifts one side. If the base rocks or the guide catches, stop at that point. Tilting the handle to get past an obstruction changes the blade position just where you need the most control.
Make sure the sheet is sitting as it will when you check the finished edge. A crease or buckle next to the wall can move the cutting line as the sheet relaxes. If you are laying out the cut with the sheet loose, check that it stays at its reference marks when you lift the waste to inspect the result.
Set blade exposure on a matching offcut
Use a scrap of the same sheet and backing. Fit a sound blade, secure it according to the supplied trimmer instructions, and use a sacrificial surface under the offcut for the first pass. Start with conservative blade exposure and check whether the planned pass separates the sheet cleanly. Then check the cut on a trial setup that represents the wall and layers you need to protect.
- Look at the underside. Check for backing still bridging the cut or torn fibers where the waste pulled away.
- Check the protected surface. Look for blade marks on the layer beneath the vinyl. If the trial shows contact there, review the blade setting and support before trimming the installation.
- Lay the cut edge flat. Compare the clearance with the project detail once the sheet has settled. Check at the beginning, middle, and end of the trial instead of judging the fit by one point.
If the blade tracks off the mark, work back through the trial. Check whether the base tilted, the sheet shifted, the guide changed contact, or the blade moved in its holder. Reset the part that moved and repeat the short trial before extending the cut.
Mark where to stop at doorframes and corners
The tool body and handle need room beyond the point where the blade cuts. On an inside corner, the base can reach the return wall while the blade is still short of the final point. At a door casing, a projecting edge can block the base or move the guide sideways before the cut reaches the jamb. Check these spots before you start the long pass and mark a stop while the tool still sits flat.
Leave enough material to locate the remaining cut. Transfer the line around the obstruction with a template or an appropriate marking method, then choose a tool whose cutting point you can control in the available space. Check the junction of the two cuts for a notch or a tag of uncut backing. The guide on how to choose vinyl floor cutting tools covers tool choices for different cutting positions.
Use an upstand reference for coved vinyl
When the sheet turns up the wall, the finishing cut is made on the raised section. Its reference comes from the specified height or termination of the cove. A vinyl floor coving trimmer is designed to guide that cut on compatible upturned sheet. Check the cove and its finishing detail before setting the blade.
Also identify where the upstand ends or turns a corner. Those areas can need a separate template and a change of cutting angle. Review the vinyl floor coving tools for the stages involved in forming and finishing a coved perimeter.
Check the finished edge before moving on
Walk the run with the sheet lying flat. Check the specified clearance, the condition of the edge and backing, and the transitions into corners and doorways. Inspect the layer beneath wherever the fitting method gives you access. If you are checking a tool for an upcoming job, give ARIK the sheet type and backing, the perimeter detail, and a photo of the tightest corner or jamb. That information helps establish where a wall-edge push trimmer can run and where you need a separate finishing cut.
